Wednesday, November 12, 2014

Anniversary dinner!

Hello everyone!

So me and Sara had a anniversary this weekend, celebrating 11 wonderful years together and looking forward to at least another 11.
So we decided to make a three course meal (dictated by me) nothing to fancy but a bit special none the less.

Starter

We went classical and easy here, just dates wrapped in Serrano-ham and stuffed with Gorgonzola for me and smoked Italian cheese for Sara.


Delicious and easy! Can you spot which one is mine? And I presume no recipe is needed but...
Pit the dates, wroll them in any ham you want and into the oven. Stuff dates with cheese if you want or sprinkle on top!

Main course

So here is where we put the most "bang", I had seen examples of a pizza called "Chicago deep dish style stuffed pizza". Go ahead Google it, I will wait...
...
...
Looks wonderful doesn't it!?

I used this recipe and let the dough rise for 1½ days in the fridge: http://www.seriouseats.com/recipes/2012/07/basic-new-york-style-pizza-dough.html
I used almost all the dough and only had a little left over...

Remove dough from fridge and let it come to room temperature over 1 hour or so. While that is happening make your pizza sauce! Tomato pure, garlic, oregano, salt and pepper to taste and let simmer for a while... mmhmmmm!


Once the dough has risen over night in the fridge take a spring pan and line it with the dough once you have shaped about 1/3 of it into a pizza shape.
Should look like this: But without the toppings.
Also set the oven to 225 degrees Celsius to get it warm while you are assembling the pizza.


Layer your stuff! No tomato sauce on the bottom though!
We put these layers in:
Mozzarella
Onion, Mushroom, Paprika
Salami
BBQ Chicken
Smoked Cheese
Onion, Mushroom, Paprika
Mozzarella
and some tomato sauce to top it off. 
The last picture is the "finished" product.


 Now take some more dough and roll it out and put over and seal the edges tightly! Also make some holes with your fork in the top to let air out.

Pour rest of tomato sauce in the middle and put into oven for about 45-55 minutes.

When coming out of the oven it should look like this... And then you remove the spring form... GENTLY!
Was nervous here, I mean if it isn't set it will collapse and just pour all over the stove...

It holds! So pretty!

Ready for service!


Look at the cheese!


Yummy yummy yummy!

The "slices" also held it's form quite well...

 It was a lot of food though so we didn't even manage to eat half of it... But it worked really well to re-heat!


Now in reflection and talking about taste, it was really good but I think we overdid it with toppings.. You couldn't really tell the salami apart from everything else.
So next time we will cut back on the cheese I think and add more salami instead. Now everything just drowned in cheese which is quite tasty in itself but not really what we where after.

The dough... mmmm nice!

Dessert

Now this was my big surprise for Sara, she knew the rest of the courses but not the dessert...
And I found a recipe online for homemade ice cream that requires no churning since we don't have a ice cream maker.

150g of condensed sweetened milk
1/3 cup whipping cream
1/4 cup cocoa powder
A bit of melted peanut butter (just throw it into the microwave quickly)
Reeses peanut butter cups, any you like.

Mix: Milk, cocoa powder and you'r peanut butter cups. I cut mine into quarters just to get a more even spread and smaller mouth fulls of the things since the large pieces are to big for ice cream I think.

Whip the cream to stiff peaks, it should be quite stiff!

Then fold the milk mixture into the cream gently, you should get a fluffy cream kind off thing. Then take a knife or spoon and get your peanut butter in there to get a kind of "marble effect".
Then top off with a few more peanut butter cups for looks!
It should look like this:


Put into the fridge over night or however long you want until ready to serve.
The serve and enjoy, if you like chocolate and peanut butter (or peanut butter cups, duuh!)
This will make you scream for ice cream!


It was soo good! Ben & Jerry's can go to hell! So easy to make just need to know 1 day beforehand and you can mix any tastes you want or mix anything you want into the mixture to get some crunch and taste!

I think I will put Oreos into one soon with chocolate... Or brownies.. Only your imagination is the limit! :)

Hope you enjoyed and that I explained everything well as usual!

//Stay full my friends!


Monday, November 10, 2014

Pumpkin awesomeness!

Hello!

So I made pumpkin bread and pumpkin jam and pumpkin ice cream!

The jam and bread came out fucking delicious! And the whole apartment smelled like Christmas the entire day!

Will definitely be making the bread again, even Sara loved it and she isn't that big of a fan of pumpkin as I am...

How to puree:

First, peel, deseed and dice the pumpkin and put into oven for about 20-30 minutes on 225 degrees celsius.

Put into blender and blend!

Ready to store or use! Put into fridge and use later if you want to!

Bread:

2 mushed bananas
1. 1/3 cup of pumpkin puree (just shove pumpkin into the oven on 230 degrees and puree when soft)
1 teaspoon baking powder
1 teaspoon baking soda
2-3 teaspoons pumpkin spice
A bit of sugar (can skip this, I probably will next time)
1 tablespoon of honey
1 ½ cup of dinkel flour
1 cup all-purpose flour
½ teaspoon salt
1 tablespoon of oil
and 2 eggs!

(Can add raisins or some nuts if you want, Sara does not like raisins in her bread though so I skipped it)

Instructions:
Set oven to 175 degrees celsius.

Combine flour, baking powder and soda, salt, spice and raisins if you are using them!

Mix pumpkin, banana, egg, oil and sugar/honey in a separate bowl.

Then mix the two together to get a nice even paste and chuck it into the bread pan and bake in the oven for about 60-75 minutes. (Might take longer or shorter depending on the oven)

Be warned! It will smell wonderful and you will want to eat the whole thing instantly!


Finished Product:


Pumpkin jam!

 As with the puree. Peel, deseed and dice the pumpkin.

I used about 2,5 kgs of pumpkin and 
175 grams of sugar
2½ teaspoons of pumpkin spice.

Mix sugar and spice.
Take a slow cooker or a big pot with lid.

Put oven at 100 degrees.

Layer pumpkin at the bottom, cover with sugar, then pumpkin, then sugar and so on until all ingredients are in the pan.
Put into oven with lid (or turn on the slow cooker on low setting)

Let it go in the oven/cooker for 6 hours and stir occasionally. It's done when it looks like this: 


 Put into jars you have sterilized with warm water and turn upside down to get rid of as much air as possible.

They where delicious! 
Perfect for sandwiches, porridge, pancakes or whatever else you can think off?


Pumpkin ice cream


Made this sunday and I will try it next week but I took about:
1/3 of a can of sweetened condensed milk
1½ dl of heavy cream
3 tablespoons pumpkin puree
1 teaspoon pumpkin spice.

Whip the cream until it becomes quite firm. Not butter though! :)

Mix the condensed milk with spice and milk until thoroughly blended.
Then fold the mixture into the cream. The mixture should be airy and fluffy!

Put into freezer for about 1 day and then enjoy!

Tried this with peanut butter and peanut butter cups this weekend as well and me and Sara finished it will post that recipe later. 

You can really make wonderful combinations of flavor without having a ice cream maker and there are not a lot of additives here and you can mix as you wish!


Pumpkin madness!

//Stay full my friends I gotta buy more pumpkin before it's to late!


Sunday, November 9, 2014

French Onion soup!

Hello readers!

So I made French Onion soup for a friend since winter is coming!


For 2 portions:
2 Large yellow onions peeled and cut into slivers.
1 clove of garlic.
0,75 liters of beef stock
Optional: 1 dl of white wine.
Some white bread
A bit of some tasteful cheese like gruyere or cheddar.
1 bay leaf
0,5 teaspoon dried thyme.
Some white pepper.
Butter for frying

Fry, onion, garlic and butter until onion is a bit golden.

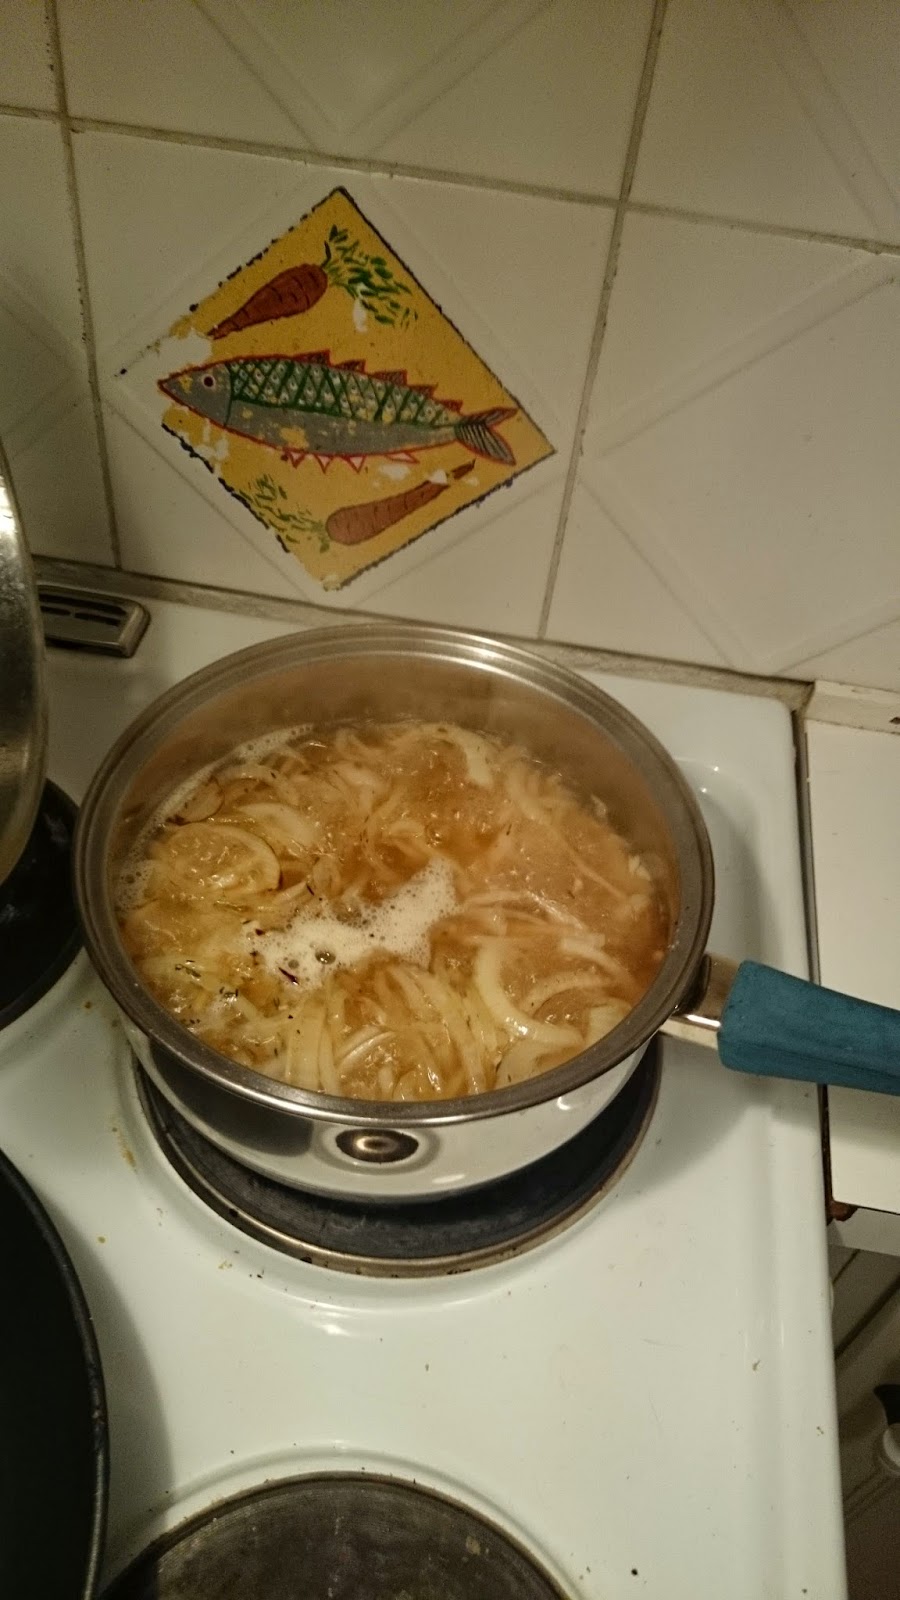
Then add beefstock, thyme, bayleaf, wine, salt and pepper to taste and put that on the stove and let it simmer for 20-30 minutes.

Put the oven at 200 degrees now and fry the bread in a pan to let it get a crispy surface.

When soup has simmered to perfection pour it into oven proof bowls. Put bred into the soup and top off with cheese.

Put into the oven and let it be until it matches the picture, the cheese should be golden brown!

Serve with some bread, cheese and butter or as is.


Hope yours comes out as awesome as mine did! Very warming and tasty!


//Stay full my friends!

Thursday, November 6, 2014

Pumpkin Risotto!

Hello Everyone!

So I made Risotto for the first time and since I love pumpkin it had to be Pumpkin Risotto with Porcini mushrooms!

First the ingredients needed, for about 3-4 servings!

We will be using everything here.
1 Liter of vegetable stock
1 Small apple
2 tbsp of Maple Syrup
1 Butternut pumpkin
1,5 dl of white wine
A few leafs of sage
1 fist of dried porcini (Karl Johan svamp)
2 cloves of garlic
1 Onion
100 grams of good parmesan
1 bag of Carnaroli risotto rice


First off: Dice the onion into small pieces.
Dice the onions cloves very fine
put the mushrooms in water to soak
split your pumpkin into 2 halves and take out its "guts"
Peel and dice the apple into wedges.

Dice one half of the pumpkin into big chunks and put into the oven with salt, apple and some sage at 225 degrees celsius.

Dice the other half of the pumpkin into smaller cubes and fry with some butter and the maple syrup and some sage.


Should look like this when done and be a bit crispy. Very tasty!

Then we make risotto!
Onions and butter until translucent.

Then add risotto rice and stir stir stir constantly on high heat. Making a good risotto is not hard but there are some basic steps on how to make it. Read up on the web if you are unfamiliar!!
After a few minutes the rice changes consistency, thats when you add your wine and let it cook out then you add stock as you go. Important is to stir!
You can add some water from your mushrooms here as well if you want too.

Also Important to taste here to get the right texture of the rice, should be al dente without being under cooked!

Take the pumpkin and apple mixture out of oven when done (golden brown, test it like you would potatoes, should be soft) and puree them!


Fry your mushrooms without the water with garlic and butter. Save the water they where in!

When the rice is almost done add your pumpkin puree and fry until rice is done!

Then add your fried pumpkin and grated Parmesan cheese and stir until well mixed and wonderful!

Serve! Put rice and then garnish with your fried mushrooms, some more Parmesan and sage leaves for "The looks".

So pretty!


Hope I was clear in my instructions otherwise just ask. This was probably one of the most time consuming things I have made in "active time" where I had to stand by the stove and stir stir stir. There are no shortcuts to the perfect risotto!
But it was so so worth it, according to me this is in my top 5 things I have ever made and now I need to make more Risottos! So many good mixtures and recipes I wan't to try!


//Stay full my friends!

Sunday, November 2, 2014

Mixed food!

Hello readers!

I'm sorry for being inactive, but last week was crazy much work so I didn't cook one single meal the entire week!
Was not fun at all. But I have a recipe I want to post from last weekend and some things I ate during last week anyway...

And the Risotto recipe will come up tomorrow for the ones waiting for that ;). It was amazeballs!

First off we made Sushi with work as a team activity with Mami from futomaki as our Sensei. I think mine came out looking very nice! The taste was good as well, nothing special though...

Pulled chicken!

Was really plased with how this turned out and Sara said it was "one of the best things she has ever eaten" :D

Brown the chicken in a hot pan to sear of the surface.


Put the seared chicken, chicken stock, spices, garlic, onion, bell pepper, worcestershire sauce and some tomato paste into a pot with lid. I used about 3 cloves of garlic, 1 onion, 1 bell pepper and the rest I just winged it with!
The spices was a chicken jerk mix from a spice place in Charlotte, SC.

Put it in the oven for 5-7 hours on 125 degrees celsius. Its ready when you can easily pull the chicken apart with a fork.

Pour everything into a bowl and pour all the lovely juices on top! Add bbq sauce here and mix if you want to. I usually put it on the table so everyone can do what the want.

Serve with your favorite taco condiments. homemade guac, fresh vegetables, corn tortillas and such!  

Pasta carbonara

Made carbonara that was one of the best we have ever eaten as well! Used a recipe from Australian masterchef.
boil pasta, fry some salami to the crisp. (I fried some Slovenian salami)
Mix 2 egg yolks into the pasta.
Then put Parmesan on the bottom of the plate, then pasta, then parmesan, then some salami, then pasta and then salami and top it of with more parmesan.
That way you get layers and the taste of everything is mixed well... So good and basic!

Pumpkin soup!


Now I did not make this but the cantine at work served Pumpkin soup. Which was delicious but lacked the real hearty pumpkin flavour. There was also no bits off pumpkin in there, probably because I was late for lunch. Had to add my own from the sallad buffet.... oh well!


Made Risotto this weekend... hohoooo! Will post recipe tomorrow, just had to catch up!

//Stay full my friends